
there is always one in the crowd.


there is always one in the crowd.
Owner (Jason) - STICKTHIS Automotive Decals and Stripes
HX Sandman Panelvan. Mint Julep. Complete Factory Resto.
HZ Sandman Ute. Saddle Tan Metallic - Customised. Galaxy Blue.
HZ GTS. Palais White. Next Resto From 99% NOS Parts.
HSV GTO Coupe - Highly Modified
VR SS into a VS Supercar Castrol Perkins Ingall 1997 Tribuilte build
Jamaica LimeOriginally Posted by jennie285

Time for an update....the van has been at my mates workshop for the last 2 weeks. In that time he has file finished the bonett, r/h door and lower tailgate. Also filed the top half of both 1/4 panels. While he was doing that I've cutting out some rust in the cowl and making patch panels to repair it. So far, so good. Hope to have it home by the end of August to get it ready for paint.
The left hand side of the cowl was the worst. The rust had eaten right back to the bottom of the windscreen channel so out it came and a new piece was added from the cut back to the pillar. I'm only helping my mate 3 nights a week so the rust repair is slow going. Hope to have the top section of the cowl made and welded in next Tuesday night.
Got a bit more done last night. The cowl panel is now rust free on both sides.
Last edited by GTS; 23-06-2010 at 08:50 AM.

MASSIVE effort M8!!
Will probably be one of the flashest Sandmans around when its completed!!
Look 4ward to eyeballin her!!;)
Last edited by Gaddy; 23-06-2010 at 05:38 PM. Reason: Grammar!!
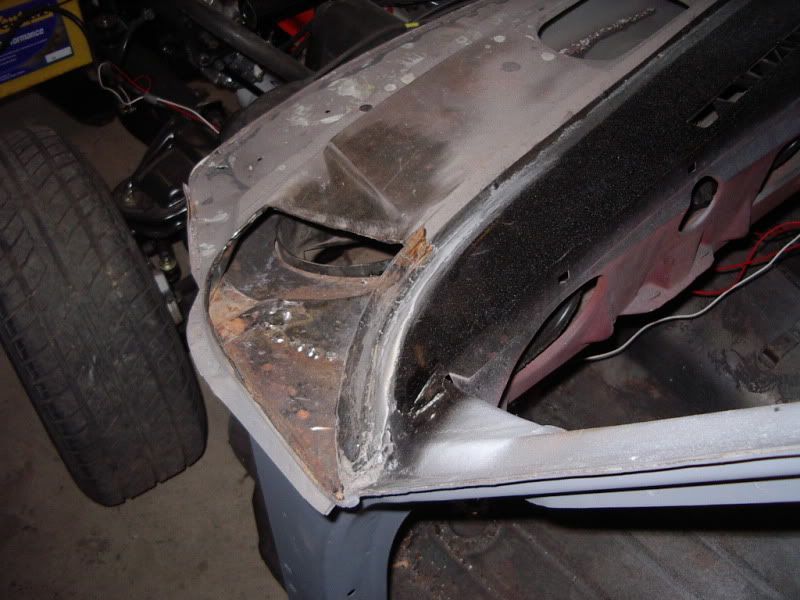
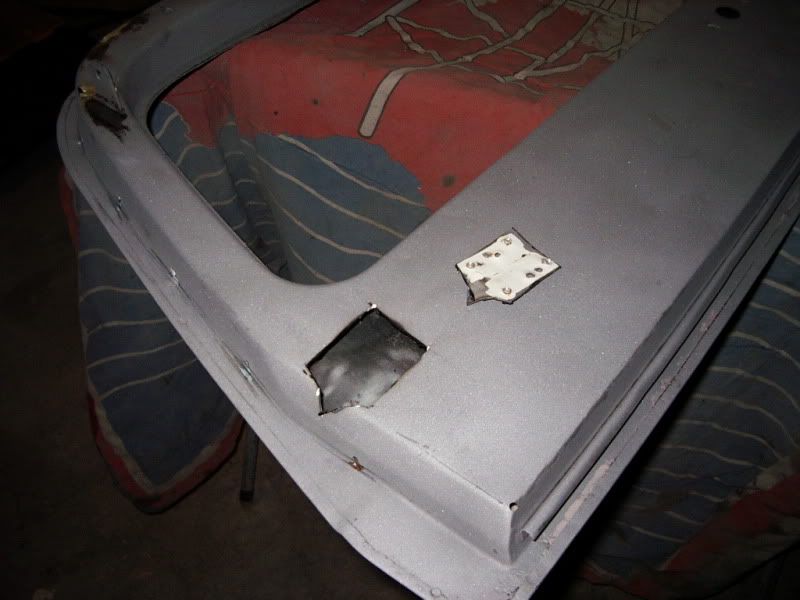
This weeks effort involved the removal of some crappy bits where the top tailgate lock rods go. The "u" shape bits that hold the lock rods had been riveted on and the frame was damaged by someone trying to open the tailgate with a screwdriver...or similar.
Last edited by GTS; 03-07-2010 at 09:51 AM.
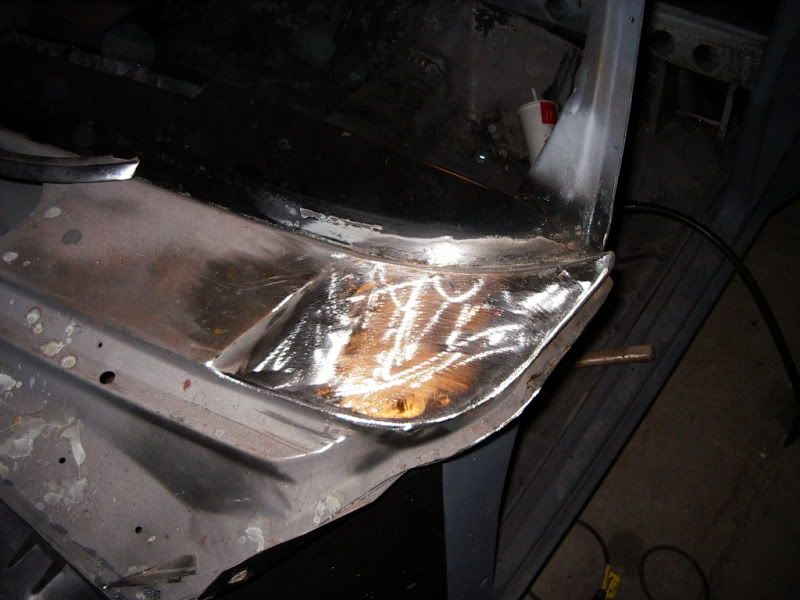
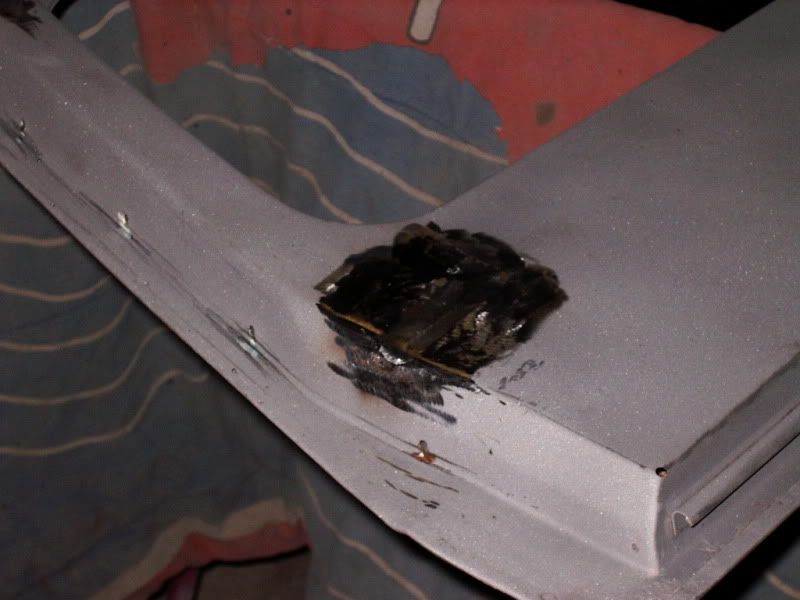
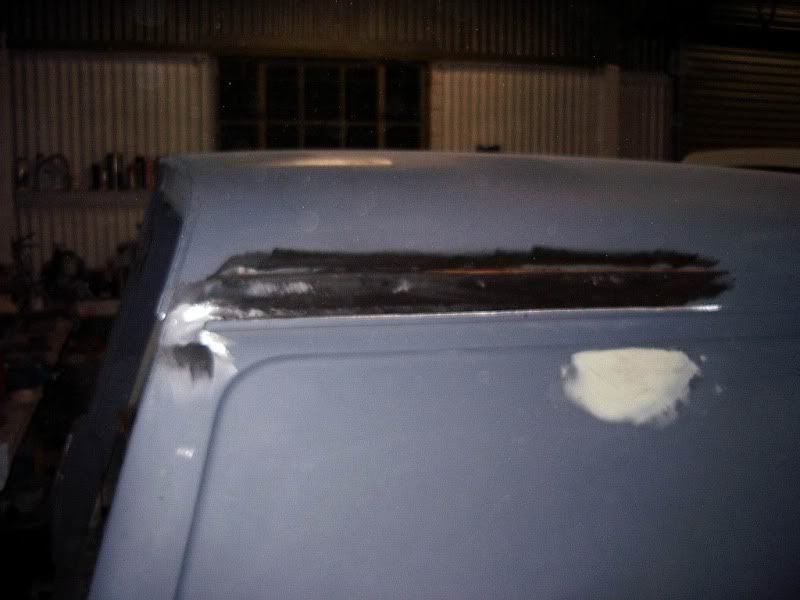
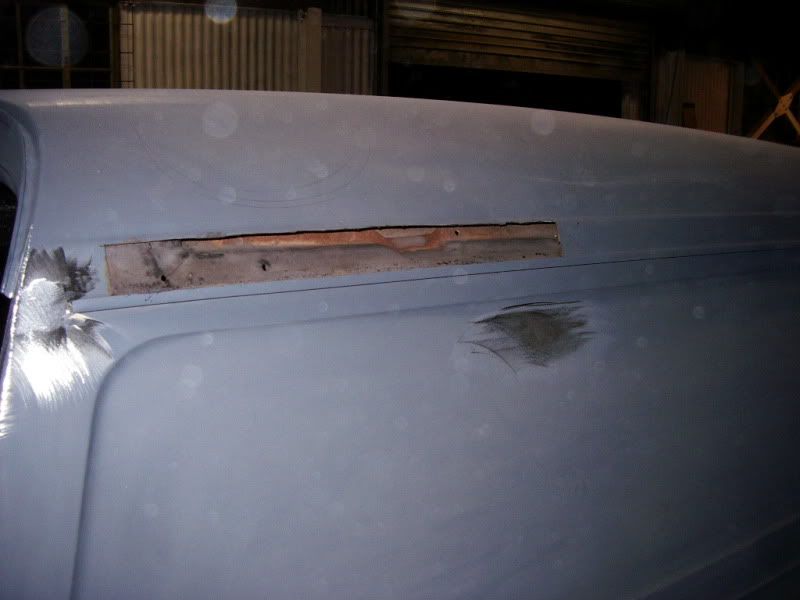
Also got the rust repairs done on the rear roof section where a roof spoiler had been fitted.
Last edited by GTS; 03-07-2010 at 09:52 AM.
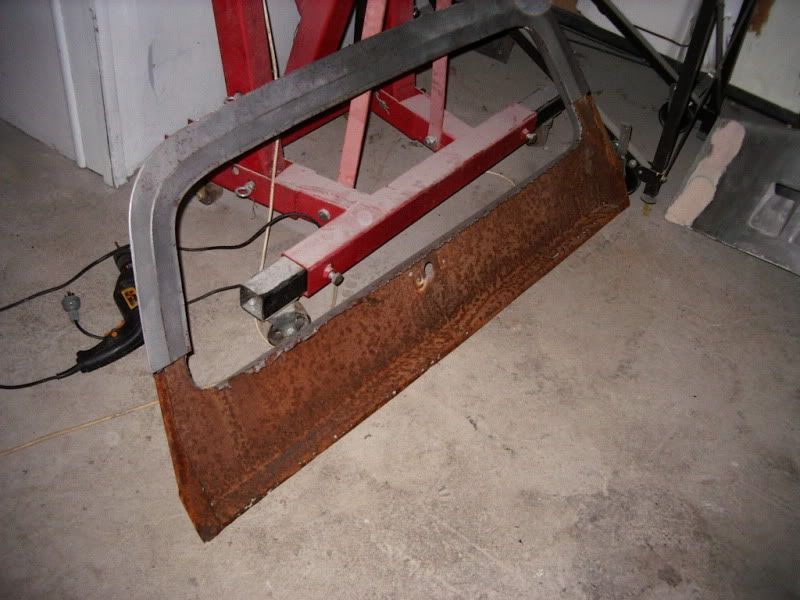
Did a bit more last night. This is the tailgate with the rusted frame that I removed the bottom half of the skin from. The other tailgate wasnt much better on the inside so it went back to the sandblaster this morning for a quick touch up. The half skin had no rust holes at all which surprised me.
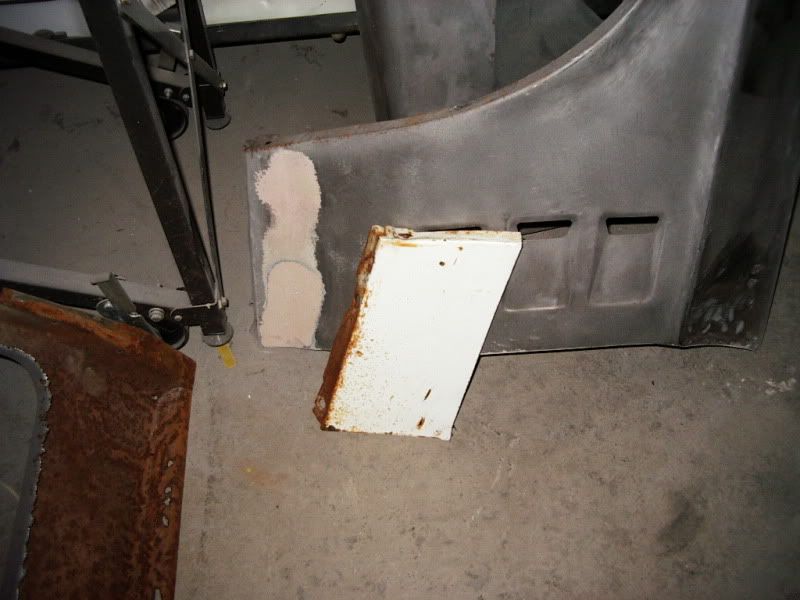
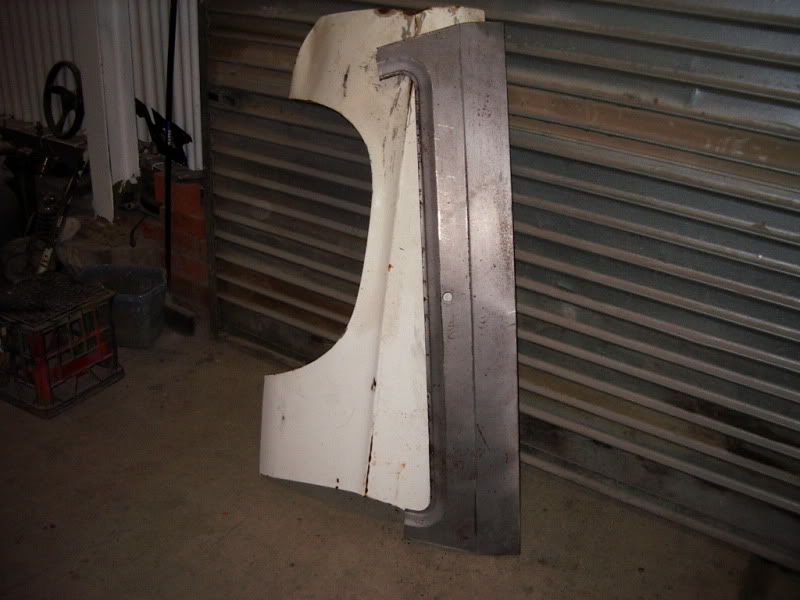
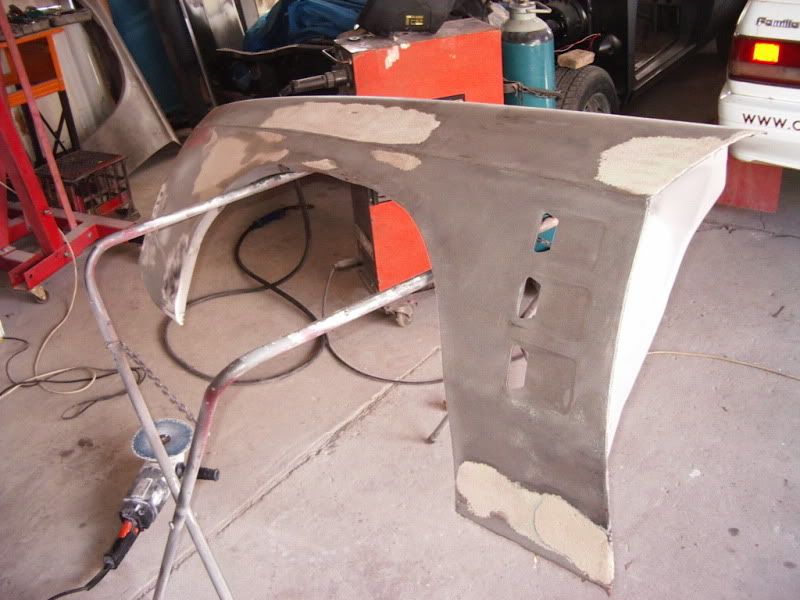
This is the "Mint original RUST FREE" guard I bought off ebay. I didnt realise that when the seller said "RUST FREE" he meant he wasnt going to charge me extra for it.
This is the bit that will replace the free rust. I took it to the blasters with the tailgate and will have it all back this arvo. The tailgate and guard should be finished tomorrow afternoon then all is left is the r/h guard and nose cone.
Last edited by GTS; 09-07-2010 at 10:28 AM.
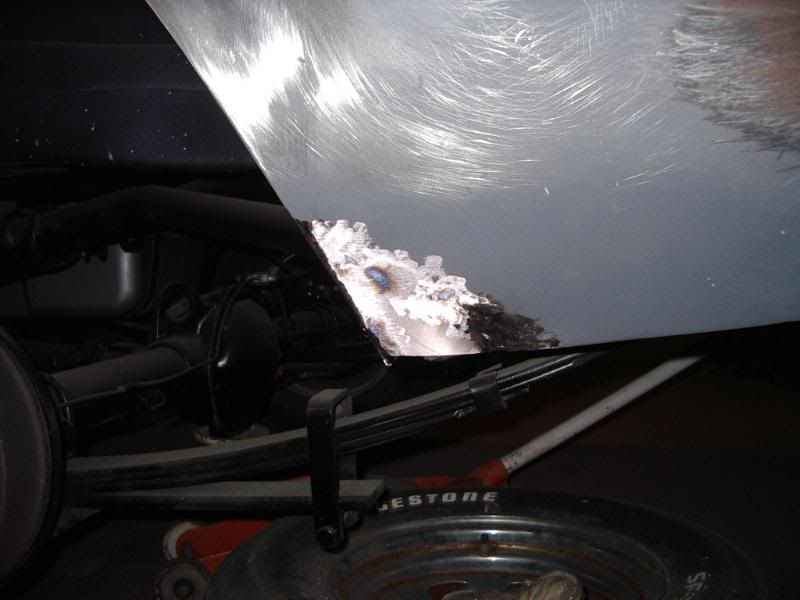
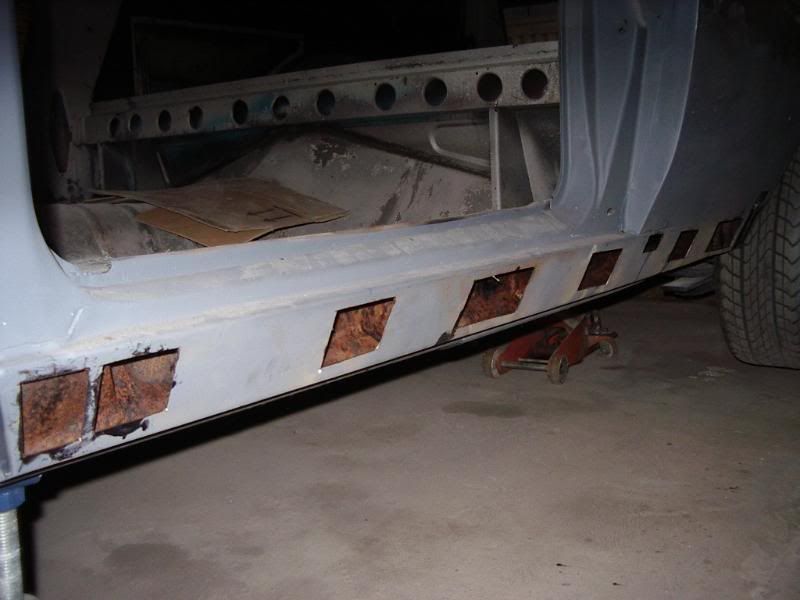
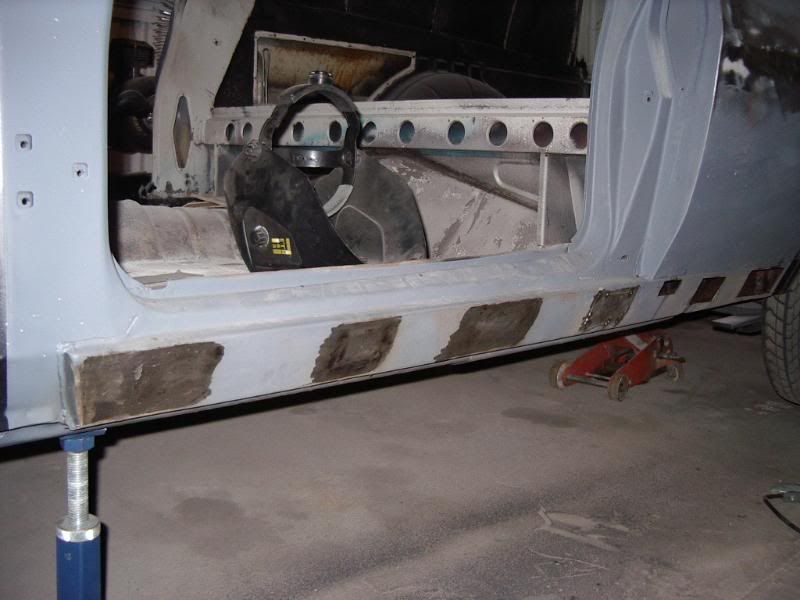
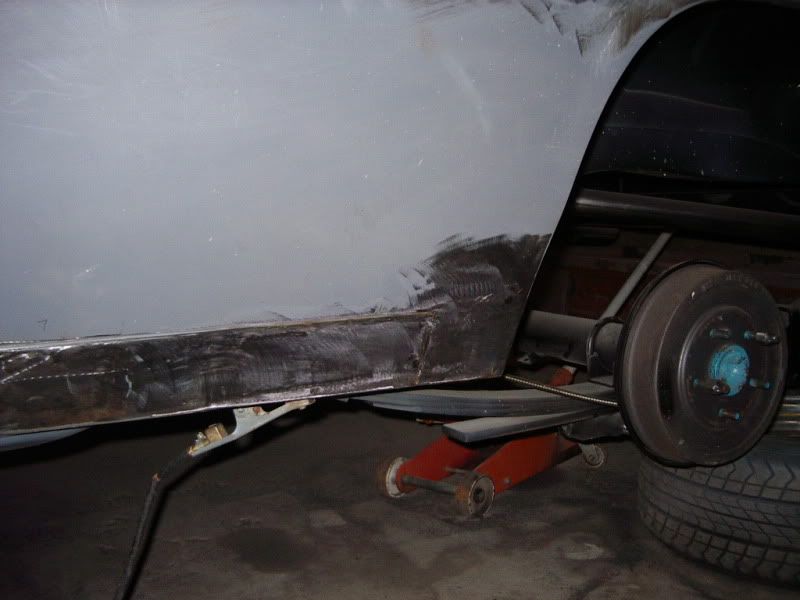
More progress. I had to cut 2 bits of rust out of the sill but found a heap of surface rust in behind it so I went on to cut out some "inspection windows" ..about 9 in total. The inside of the sill was treated for the surface rust and then the windows were replaced. Almost finished the left hand side last night and should have both done in about 2 weeks. It takes so long because I only get to work on it on Tuesday and Thursday nights for 3 hours each night.
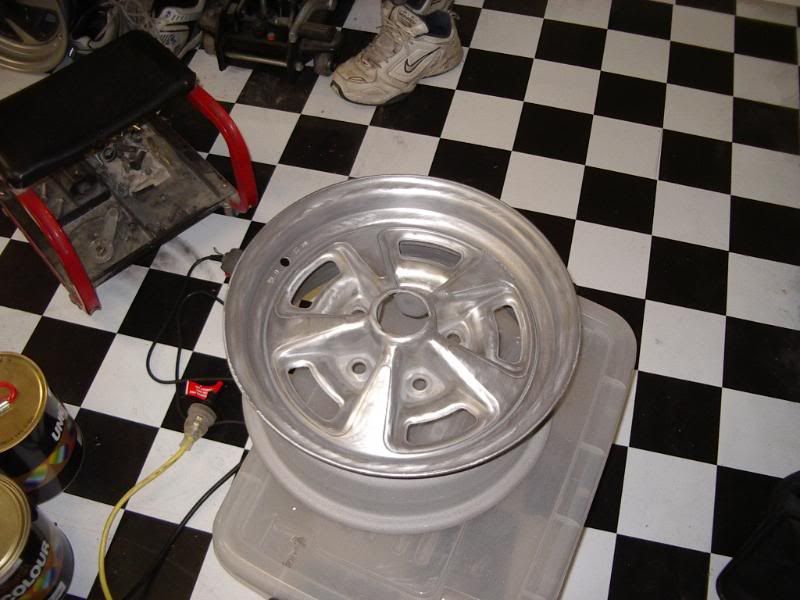
I had the rims blasted and have finished cleaning them up with a wire wheel. Just have to prime them and they are ready for paint.
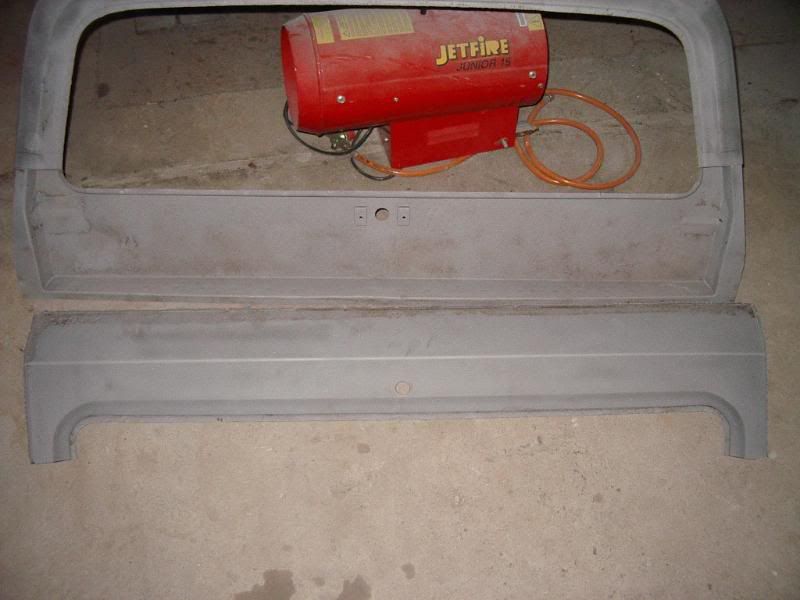
The top tailgate is ready to go back together. The shell and skin were blasted on the inside to get rid of the surface rust. The bottom edge of the skin has been replaced where there were some rust holes and it should be "as one" next week. The inside will be treated with cavity wax when its done.
Last edited by GTS; 16-07-2010 at 09:09 AM.
The left hand sill is finished.Next week.....the right hand sill
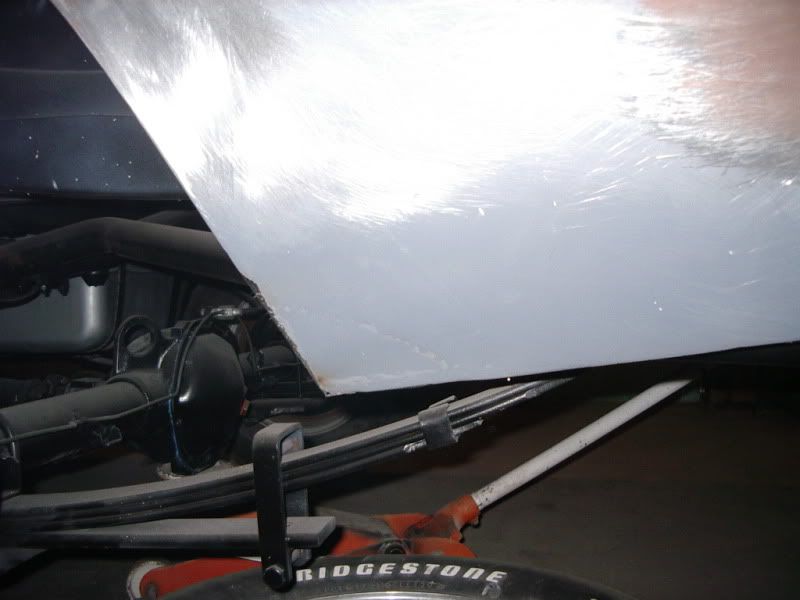
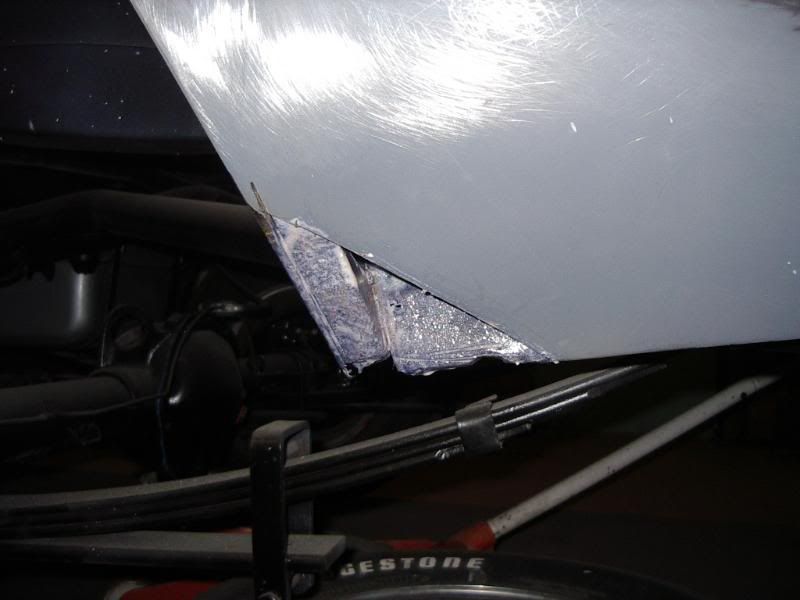
There had been a repair done before but I cut it out anyway just to check what was behind it....ya just never know....
Turned out to pretty clean but I treated it with rust converter anyway.
Almost done, about another half hour should do it.
Last edited by GTS; 29-07-2010 at 09:26 AM.
There are currently 1 users browsing this thread. (0 members and 1 guests)
 Posting Permissions

 Reply With Quote
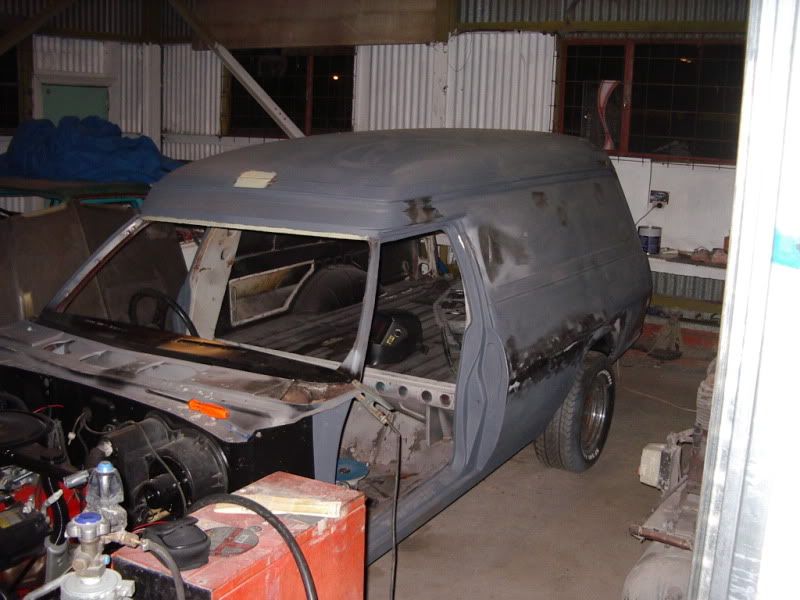

Bookmarks